How To Clean Koh I Noor Rapidograph Pens
While this will probably only be interesting to anyone who is actively searching for "How to Clean a Rapidograph Pen" or "Can you save a Rapidograph Pen with dried ink in it?" – I feel compelled to create this post because if you are one of these sad and frustrated people, there's not a lot on the net that really goes into how to rescue so-called irreparable Rapidograph Pens.
So, before you stop reading because this is of no interest to you – at least know this – Rapidograph pens are expensive but exquisite. They're a pain in the ass to most because they are not the typical "one-use" experience most people are used to. They're worth it though…. hence why I just spent 4 hours reviving 3 "dead" pens.
If you just want to find some basic information about normal cleaning (video) or a copy of the instruction sheet that came with the pens just click on the links. I would also advise picking up a copy of "The Technical Pen" by Gary Simmons if you're serious about pen care because he's got an excellent "manual" of sorts in the front of this book.
So – those of you who are searching for the following information – you're probably thinking " Well, but just how dead is dead? " and " Can I really save my pen? ".
Short answer: I left a 0x3/.25 Koh-I-Noor Rapidograph with ink in it (absolutely no cleaning what-so-ever AND a bent freaking cleansing wire – yep, that's right – BENT WIRE! ) alone for 8+ years and my 0/.35 and 2/.60 pens with a "half-ass" external and ink-cartridge cleaning for 5+ years. And yes, there is a chance to save them. So if you've just picked up some pens on eBay that were not as great as thought or you've been squirreling away your shame for the past 8 years like me – there's hope.
I'm not making promises and I take no responsibility for anything you encounter BUT – the following details my process of saving (yes, SAVING) all three of my pens and if there was hope for my incredibly abused pens there might be for yours too… and what have you really got to lose?
Long Answer (with Pictures!)
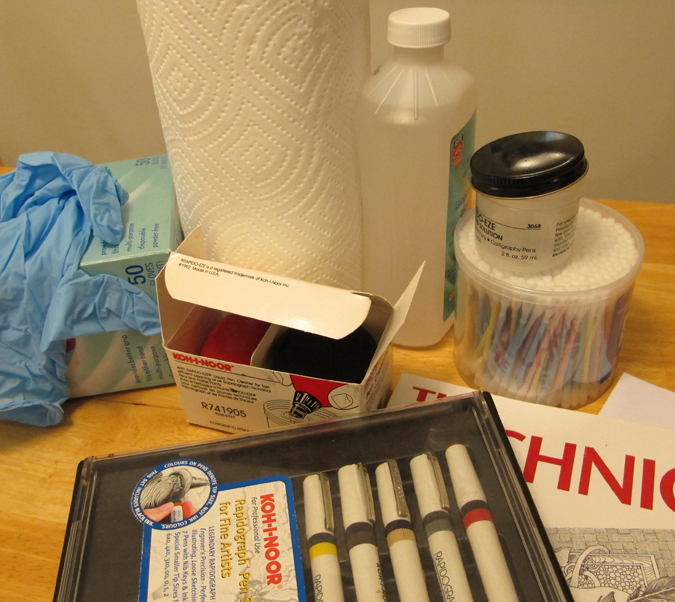
What you need to clean Koh-I-Noor Rapidograph Pens:
- The Koh-I-Noor Syringe Cleaner Kit with Point Starter and Nib Key (between $10-15 alone w/out Rapido-Eze cleaner)
- Rapido-eze cleaner OR Isopropyl Alcohol (91% or higher) – I used the alcohol throughout all of this. Also – do NOT use nail-polish remover – you WILL ruin your pens if you do.
- Small Container (preferrably with lid) if only using alcohol
- Q-Tips… lots and lots of them…
- Rubber Gloves
- Tweasers
- Paper Towels
- Patience
First things first – take your pen apart.

Even if you think the ink is completely dried up it will still have some life in it – mine did even after 8 years of dry-time. Put the gloves on before you ever go in and you'll thank me. Make sure that you have all of the above parts separated if you're trying to salvage a dead or really bad pen.
You do NOT need to go into all of this if you're just trying to maintain an already good pen (see the links provided above and run… run away while you still can!).
So – what will you probably find?
Here's what I found:
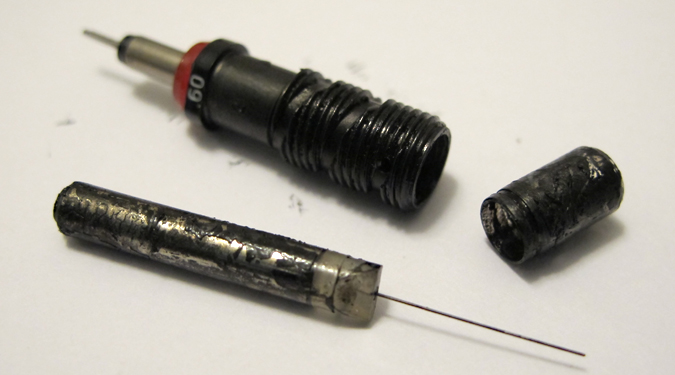
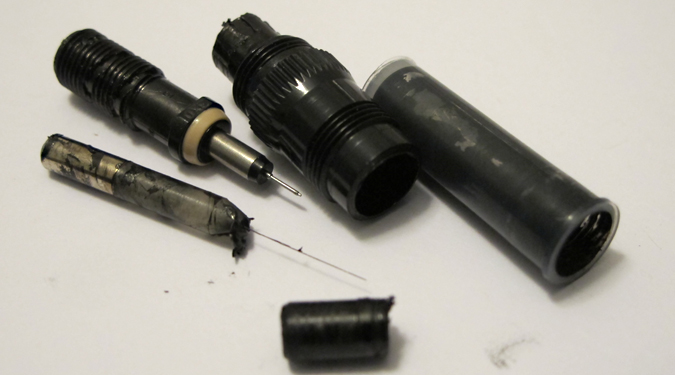
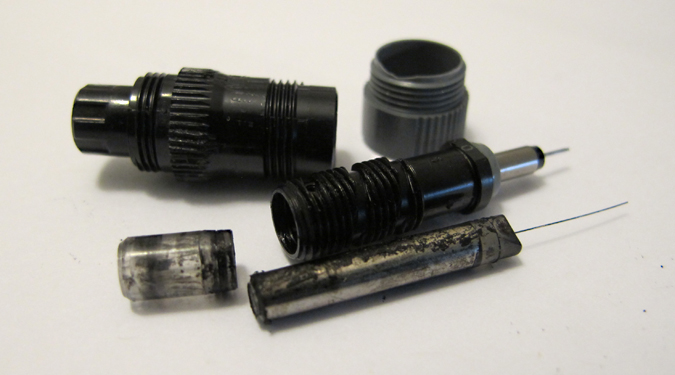
I would recommend only doing one pen at a time (as I did) so that you don't confuse parts or risk to many fragile parts colliding or getting damaged. It's easier to keep all the parts straight at this point too – you'll become VERY familiar with the way you pen works by the end of all of this though.
I used alcohol during all of this – not Rapido-eze. I save the more pricey Rapido-eze for maintenance cleaning.
Once you get the parts all good to go, dump them in the container of alcohol (I used an old Rapido-Eze container least there be any confusion) and let them soak a bit. You can take one part out at a time to scour gently with q-tips.
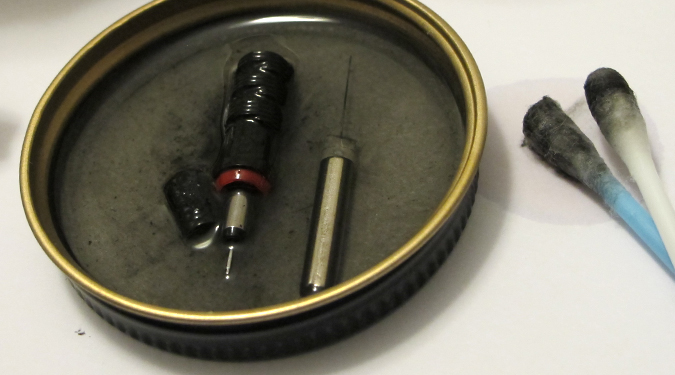
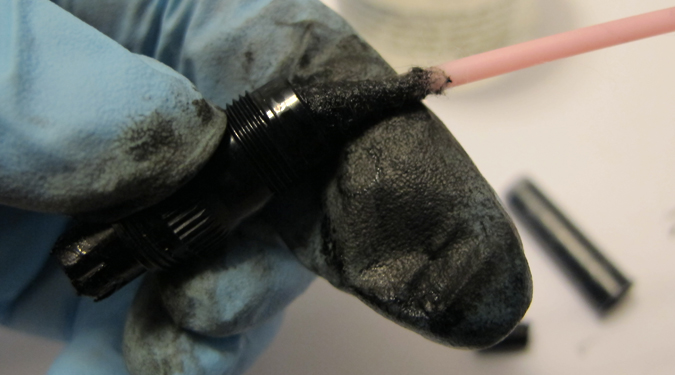
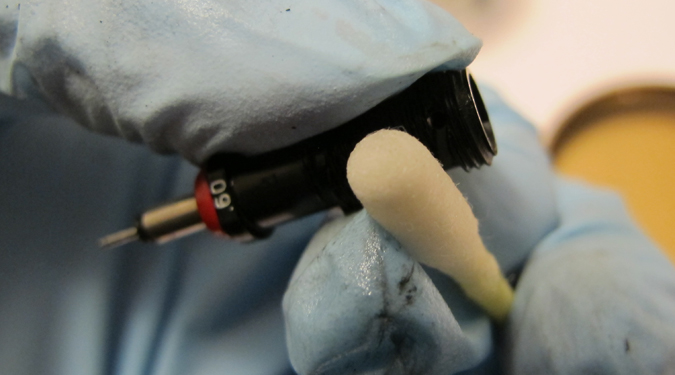
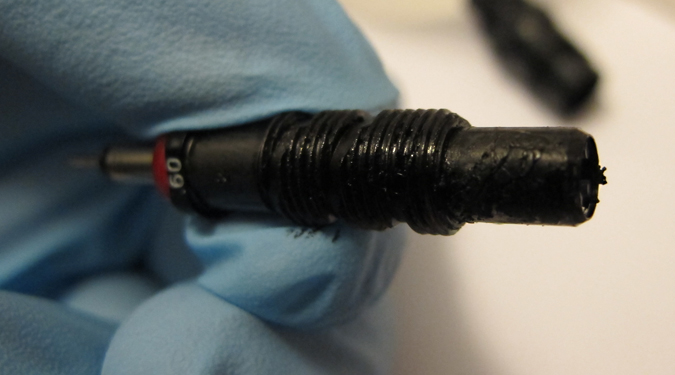
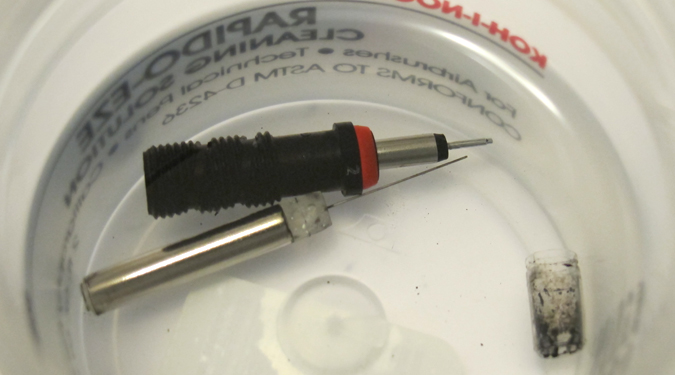
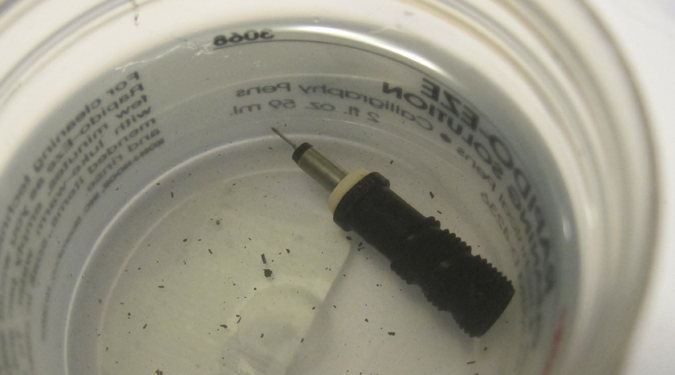
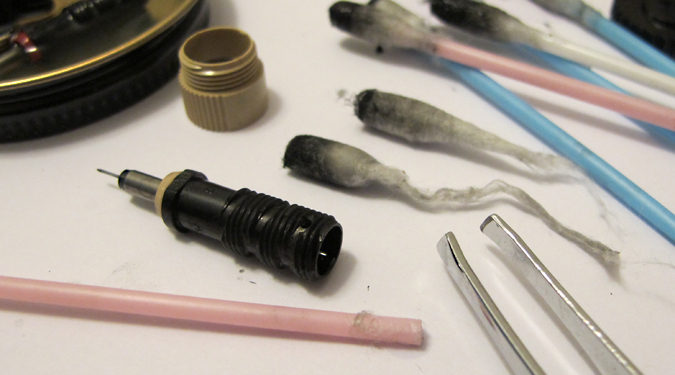
At this point you're probably going to feel like you want to poke yourself in the eye because you've been cleaning forever and still have traces (or gobs) of ink coming off every time you swab or soak the parts. Keep going – it's worth it!
Once you're pretty good on the basic cleaning level of all the parts you can try to unclog the pin tip – this is really important because if you don't do this before you try to put the cleansing wire back in you're going to bend the wire.
I know, because this is exactly what I did with my 3×0/.25 pen. I straightened the little bugger as best I could and tried to stave off the exhausted tears that threatened to overtake me but now I will NEVER not clean this part before reassembly again. Lesson learned.
So… you can use the Syringe Cleaner and Point Starter now with more clear results. If you did it when there was still so much ink coating everything you wouldn't know if it was actually clean or not.
The Syringe Cleaner has a special adapter that allows you to screw in the pen body to the bulb – normally you'd use this with the whole little nib assembled to clean your pen between fill ups (see the you tube video link at beginning of post). If you want to clean your pin point as suggested by me BEFORE you put the whole thing back together you'll need to use the Point Starter that comes with the kit. It's a bit backward so here's how it works:
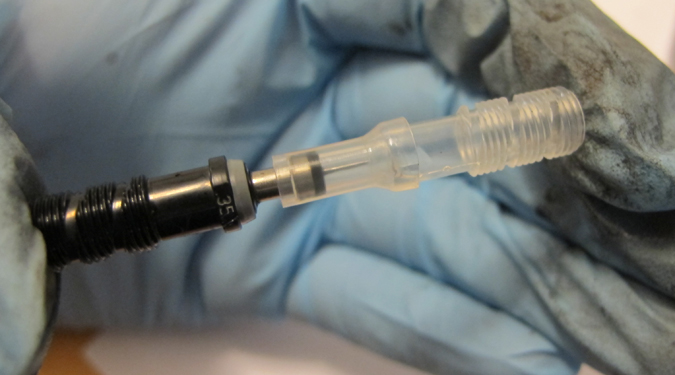
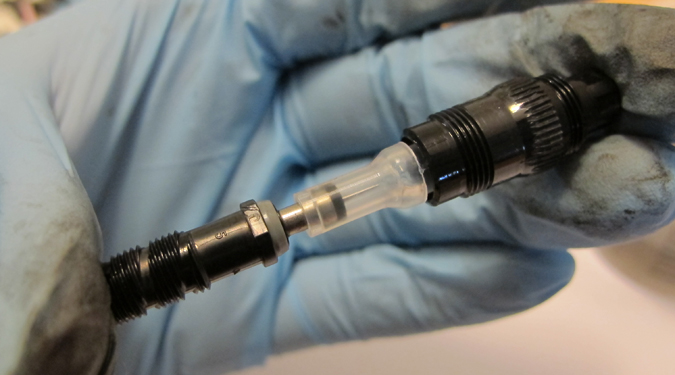
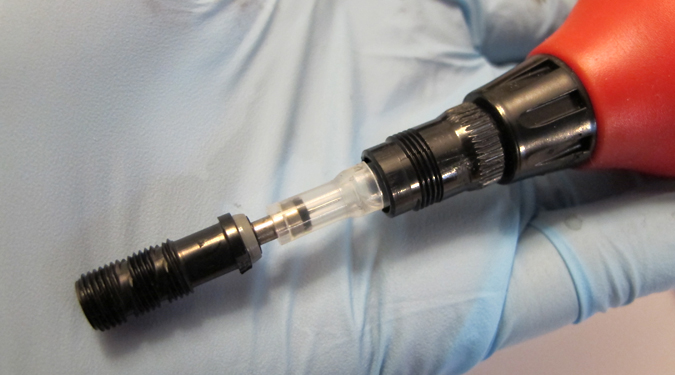
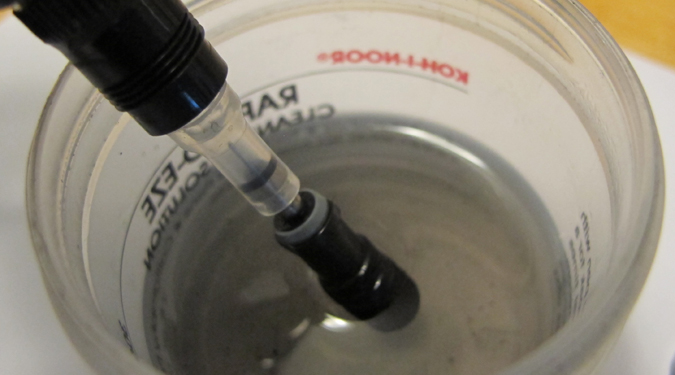
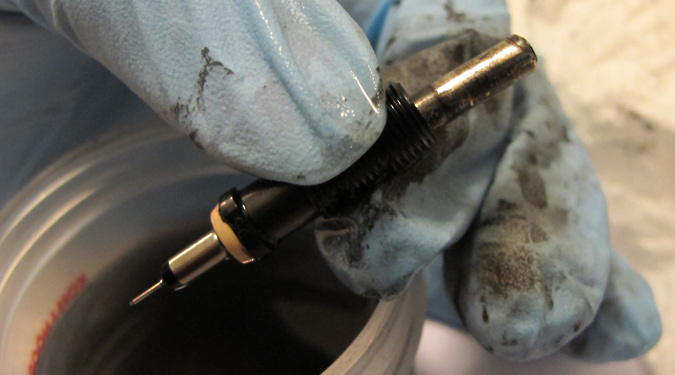
Note: The end of the weight on the cleansing wire will stick out the end of the pen point barrel – you can actually look at the point. Despite using the Point Starter adapter you'll still probably see a bit of ink come out that was pushed by the wire.
Reinserting the cleaning wire is what got me my first time but after that it wasn't hard and I didn't damage the wire. I even kept working on my 0x3 in spite of slightly bending it's wire because I didn't think I had anything to lose at that point. I simply used my nail against my gloved finger to coax it back to "straight" and then went from there. I have read that it is easy to pull this wire out or break it off so be careful!
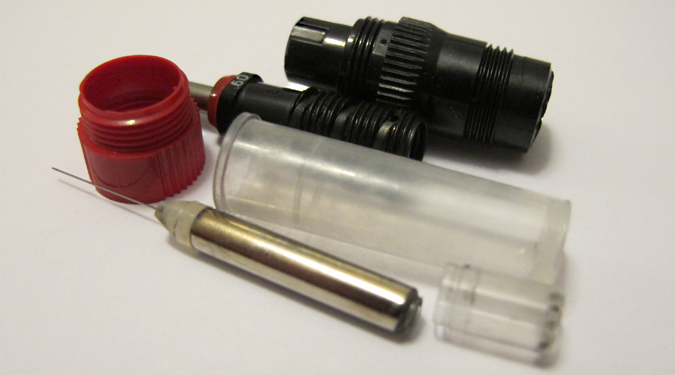
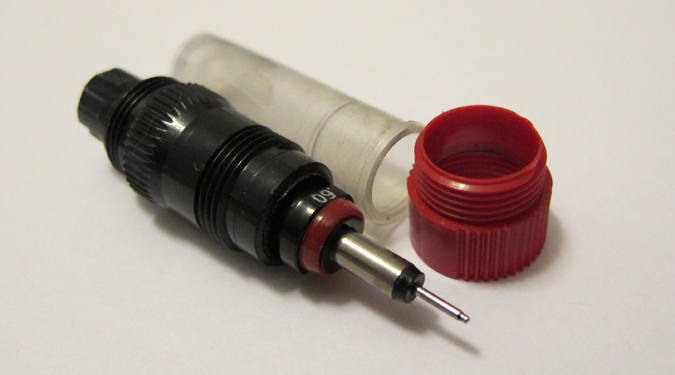
Once you get the Nib reassembled, I'd recommend using the Syringe the usual way (sans Point Starter adapter) to make sure the whole thing is super clean. For this part – I really do recommend the youtube video by Dick Blick if you haven't already watched it.
So, now the tricky part – getting the pens filled and started. I would recommend following the instructions on the linked instruction sheet for this part.
When I started my pens, the 2/.60 (red) pen started fairly quickly. I was thrilled. It seems to almost let too much ink out but I feel like I remember it doing this before – it's a large pen tip. It doesn't skip now and doesn't send out a blob of ink though at all. No leaking ink either. It's great! What a relief!
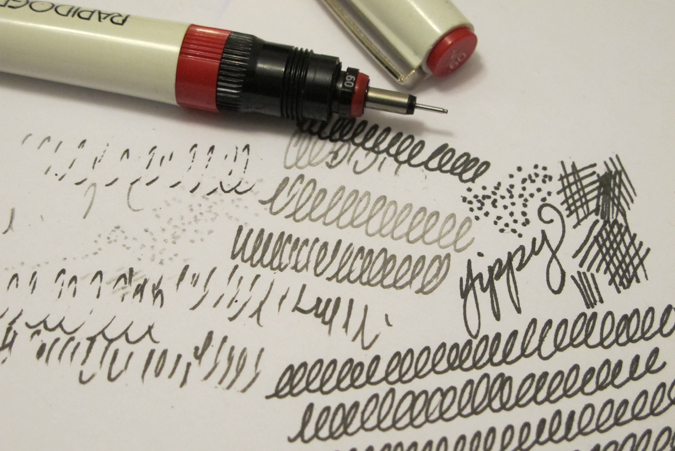
The 0/.35 (grey) pen started after a few seconds of mark making but was spotty. I realized that I needed a bit more ink. It stopped working entirely for a bit there but then I realized that the ink-refill had created a bubble cap. A few brisk taps with the butt of the pen to the table cleared this up and it started to flow much more reliably.
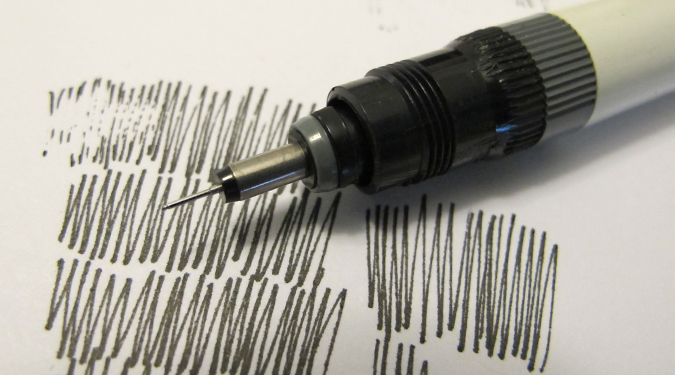
The 0x3/.25 (tan) pen was another story altogether. It was the first pen I worked with throughout all of this – and was the least hopeful of the three. It refused to work the first time at all. I took it apart (cleaned it again) and worked more on the pen point but was afraid that the bent wire was the real issue. I tried to make sure the wire and pen point were clean but did not use the pen starter yet (not sure why this didn't dawn on me). … nothing… I tried using the Syringe normally… nothing…
And, when I was trying to get it started I gave it a good downward shake that was forceful (but not hard) and ink came out of the nib in unexpected places. This was online advice… I didn't find it helpful…
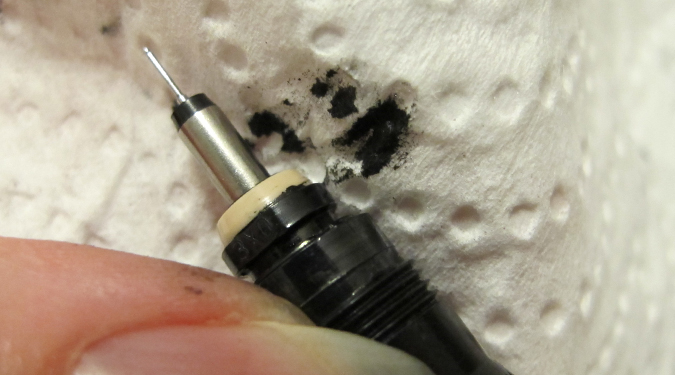
I finally re-soaked the heck out of every part for about 20 minutes and (finally) used the Point Starter. I noticed an almost immediate difference in the flow of alcohol out of the tip with the Point Starter and sure enough – this time when I refilled the dang thing it worked. It skipped a bunch at first but finally started and has been going fine since.
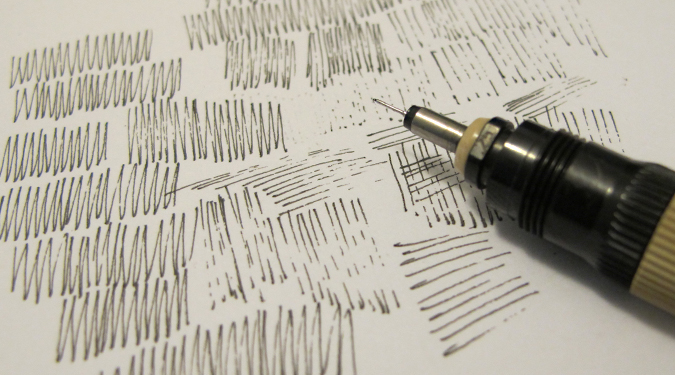
And there you have it…. three 8 year old disasters saved with 4 hours of elbow grease, the Koh-I-Noor Syringe kit, about 100 q-tips, and 8+ ounces of rubbing alcohol.
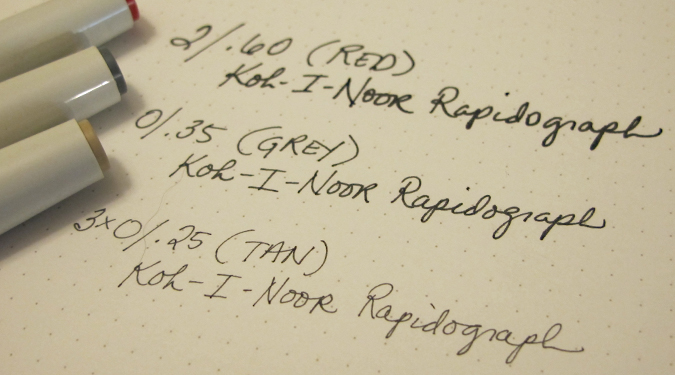
And now to draw… Squee!!!
How To Clean Koh I Noor Rapidograph Pens
Source: https://crythebird.com/2013/06/01/howtocleanrapidographpens/
Posted by: lawsonsages1952.blogspot.com

0 Response to "How To Clean Koh I Noor Rapidograph Pens"
Post a Comment